Build a SaaS App with a Full-Stack React and AWS
A full-stack React application with a Serverless backend hosted on AWS. Build high-scalable applications without managing servers.


In this article, you'll be able to build a full-stack React SaaS app using a Serverless REST API backend. You'll deploy the frontend and the backend on your AWS account.
React Frontend
Run the frontend locally
First, we'll start to build the frontend in React. Currently, one of the most powerful React frameworks is Next JS.
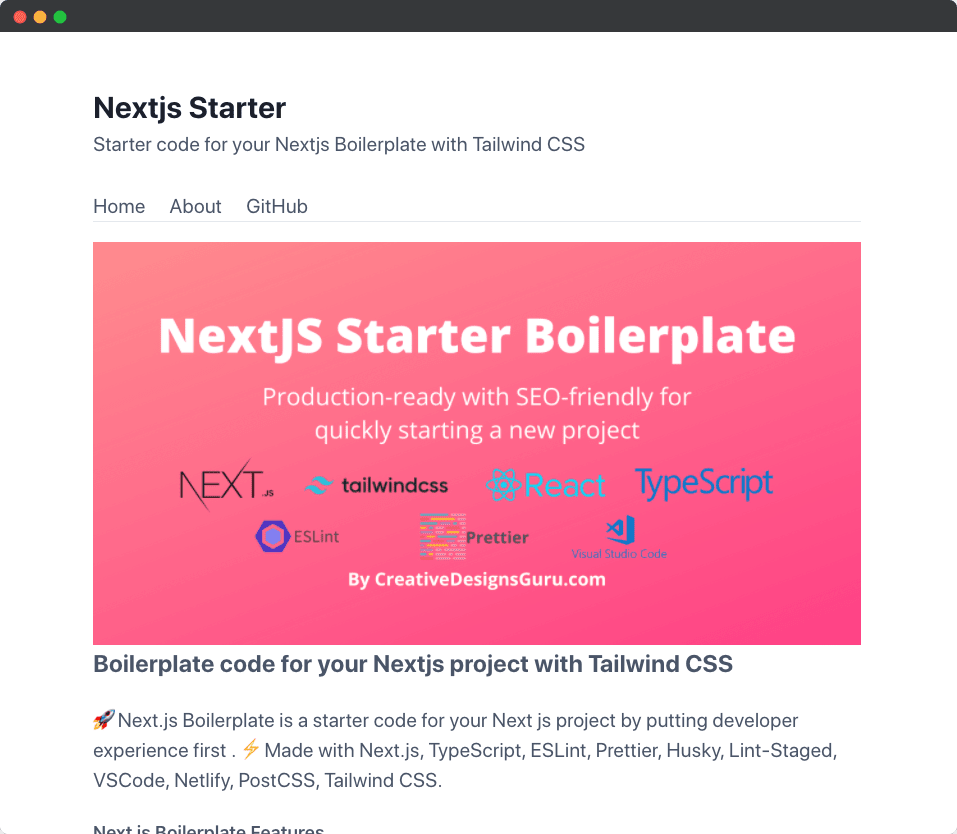
I always start my React projects with the Next JS Boilerplate. A starter template for writing high-quality code with preconfigured ESLint and TypeScript. It also includes code formatter with Prettier, styling with Tailwind CSS and Visual Studio Code integration.
After forking and git cloning the Next JS Boilerplate project, you can run the following command:
npm install
npm run dev
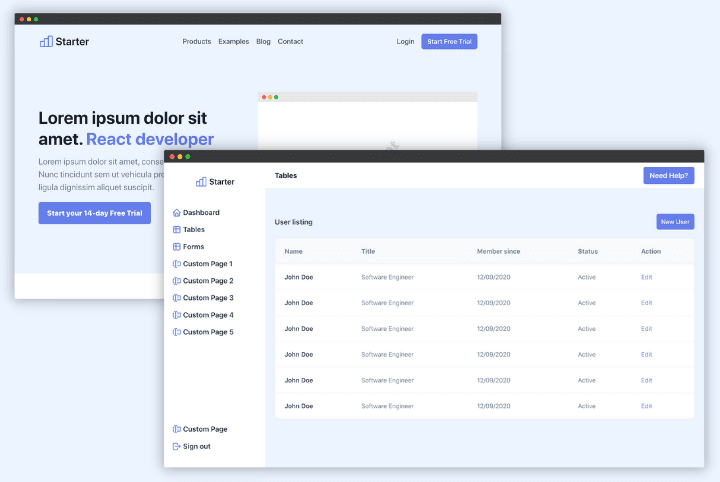
Open http://localhost:3000 with your favorite browser, you should get this result:
Deploy the React Frontend
After making sure it works locally, you can deploy your React application on AWS. There is an Amplify Hosting service perfect for this use case. It helps to host your frontend on AWS.
Before deploying the React Frontend, you need to replace the build command in package.json file with the following code:
"build": "next build && next export",
Connect your AWS account and browse to AWS Amplify. Scroll to the bottom and click on the Get Started button located in the Host your web app section:
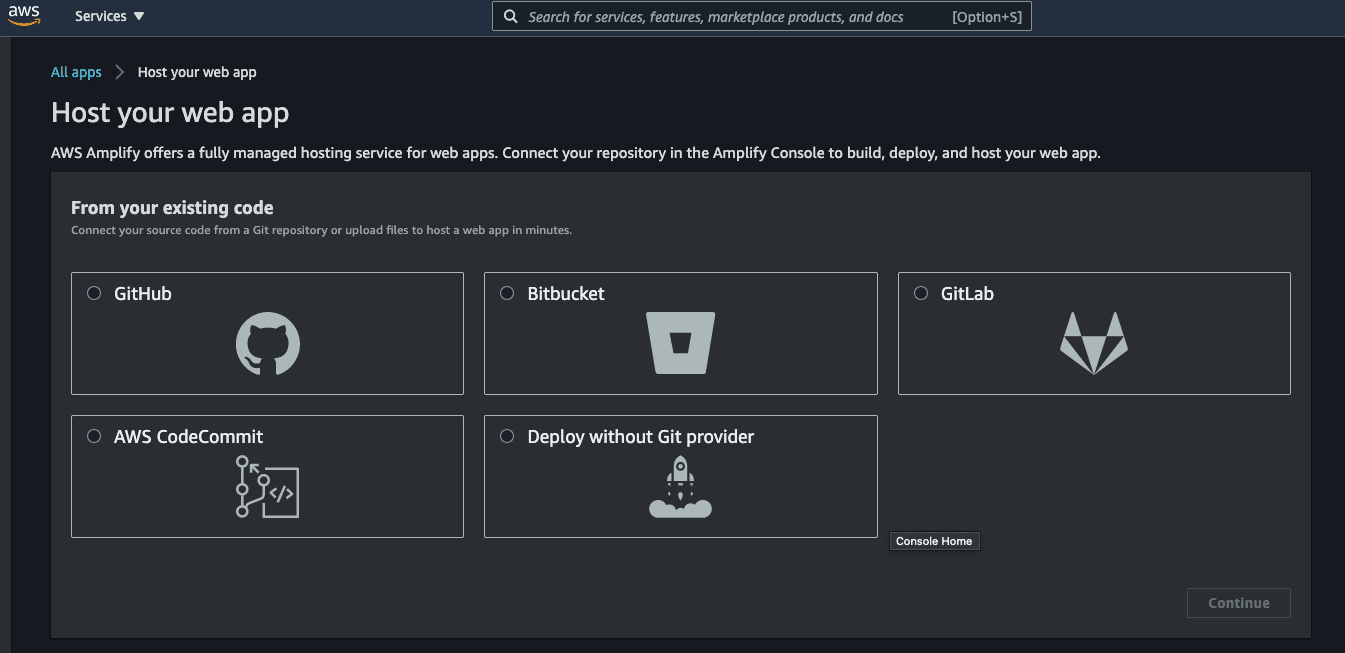
Select the Git service provider and choose the correct repository to deploy:
Then, you go to the end of the setup process and click the Save and deploy button:
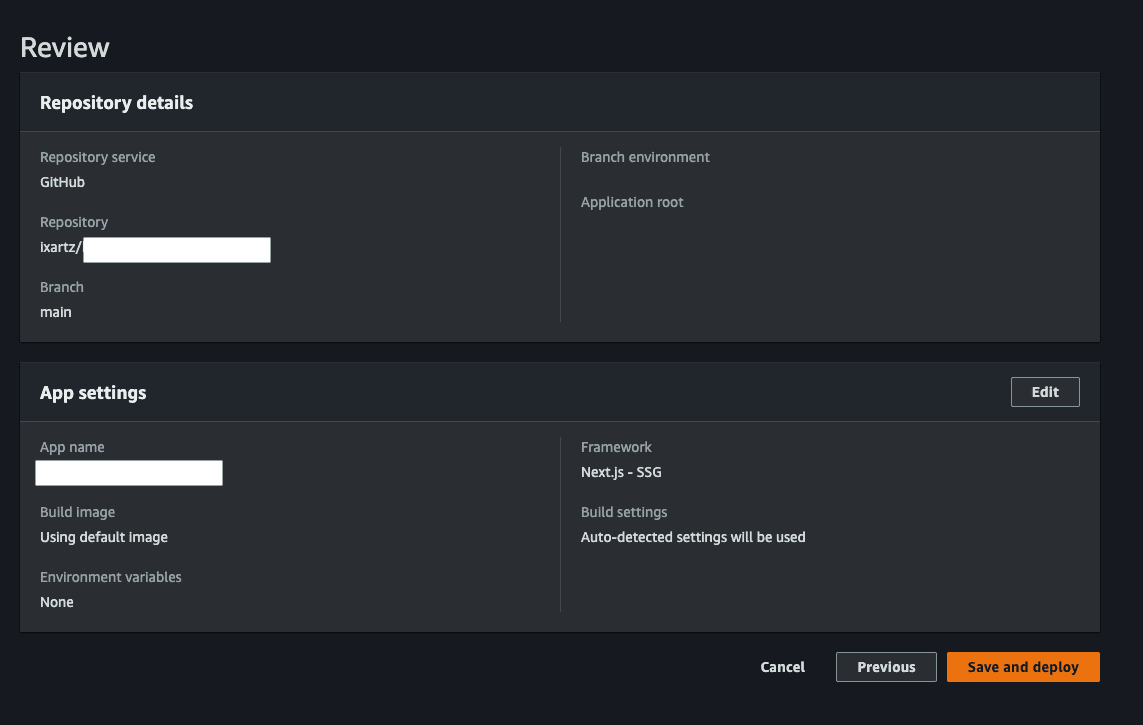
AWS Amplify kicks start the deployment. After a couple of minutes, when all the steps turn green, your frontend is accessible on the amplifyapp.com domain.
It should look exactly the same as in the local environment.
Serverless Backend
Run the Backend locally
In this section, we'll handle the Backend REST API using Serverless Framework provided by Serverless Inc. I built another boilerplate code but this time for Backend, you can find it on GitHub at Serverless TypeScript Boilerplate.
Serverless TypeScript Boilerplate is configured with the dotenv package and local support. So, you can run it in development mode on your local computer. The boilerplate was built with developer-first experience with ESLint, Prettier and Husky.
After forking and git cloning the Serverless TypeScript Boilerplate project, you can run the following command:
npm install
npm run dev
You can now test if everything works correctly by running this command:
curl http://localhost:4000
It should return a classic Hello world in JSON format.
Now, you can start making some changes in the boilerplate code by replacing the Hello world message in your src/handler.ts file by:
res.json({
  title: 'Page title',
})
Deploy the Serverless Backend
After making the necessary changes, we are now ready to deploy the code on AWS Lambda with the following command line:
npm run deploy-prod
It'll take some time to package your backend code and deploy it on your AWS account. At the end of the deployment, the console will print out the backend endpoint in the following format https://XXXXXXXXX.execute-api.us-east-1.amazonaws.com/.
You can use any HTTP client to test the endpoint. For example, you can run:
curl https://XXXXXXXXX.execute-api.us-east-1.amazonaws.com/
You should get the following message: {"title":"Page title"}
Integration between React and Backend
After deploying the frontend and the backend, it's time to connect the two. You'll be able to call the REST API from the React application and retrieve information.
You need to start installing data fetching React Hook in the frontend:
npm install swr
Then, you need to define a swr global configuration in your _app.tsx file by adding:
...
import { SWRConfig } from 'swr';
...
const MyApp = ({ Component, pageProps }: AppProps) => (
  <SWRConfig
    value={{
      fetcher: (resource, init) =>
        fetch(resource, init).then((res) => res.json()),
    }}
  >
    <Component {...pageProps} />
  </SWRConfig>
);
In your index.tsx file, you can replace the whole file by:
import useSWR from 'swr';

const Index = () => {
  const { data } = useSWR(
    'https://XXXXXXXXX.execute-api.us-east-1.amazonaws.com'
  );

  if (!data) return <div>loading...</div>;

  return <>Name: {data.title}</>;
};

export default Index;
You are ready to deploy automatically your React code on AWS Amplify with git commit and git push. Here is the result:
Going further
Your React frontend and the REST backend are now working and deployed on your AWS account. To build fully working SaaS products, you need also to implement authentication, recurring payment, landing page, user dashboard, form handling, error handling, CRUD operation, database, etc. Instead of building everything yourself from scratch, start your SaaS business faster with a React SaaS Template and focus on the things that make your product unique.